From Tight to Terrific — Your Foam Roller Awaits
Ever feel like your legs are made of bricks? You head out the door with the best intentions, but every step feels tighter, heavier, and more awkward than the last. You’re not alone. Every runner has been there.
But here’s the good news: you don’t need a massage therapist on call to loosen up. A humble piece of foam can work wonders.
Foam rolling isn’t just a recovery trend — it’s a powerful, accessible tool that can help you reduce soreness, improve flexibility, and keep you running longer and stronger. And the best part? It only takes a few minutes a day.
Let’s break down how to foam roll, why it matters, and how to turn it into a habit you actually stick with.
What Is Foam Rolling and Why Should Runners Care?
The Science Behind the Roller
Foam rolling is a form of self-myofascial release. Your muscles are wrapped in fascia — a thin layer of connective tissue that can get tight, knotted, or restricted from overuse. Rolling helps release these knots, improving blood flow, restoring mobility, and reducing inflammation.
Think of it as a deep tissue massage you can give yourself. When done consistently, it can:
- Reduce delayed onset muscle soreness (DOMS)
- Improve flexibility and range of motion
- Help prevent overuse injuries
- Speed up recovery between runs
Foam Rolling vs. Stretching
Stretching elongates muscles, while foam rolling targets the tissue quality. You need both. Roll first to break up tightness, then stretch to lengthen and restore balance.
When to foam roll:
- Before a run (lightly, to activate muscles)
- After a run (deeper, to recover)
- On rest days (for maintenance)
Essential Foam Rolling Moves for Runners
Lower Body Focus
Quads
- Lie face down, roller under thighs.
- Roll from hip to just above knee.
- Pause on tender spots and breathe.
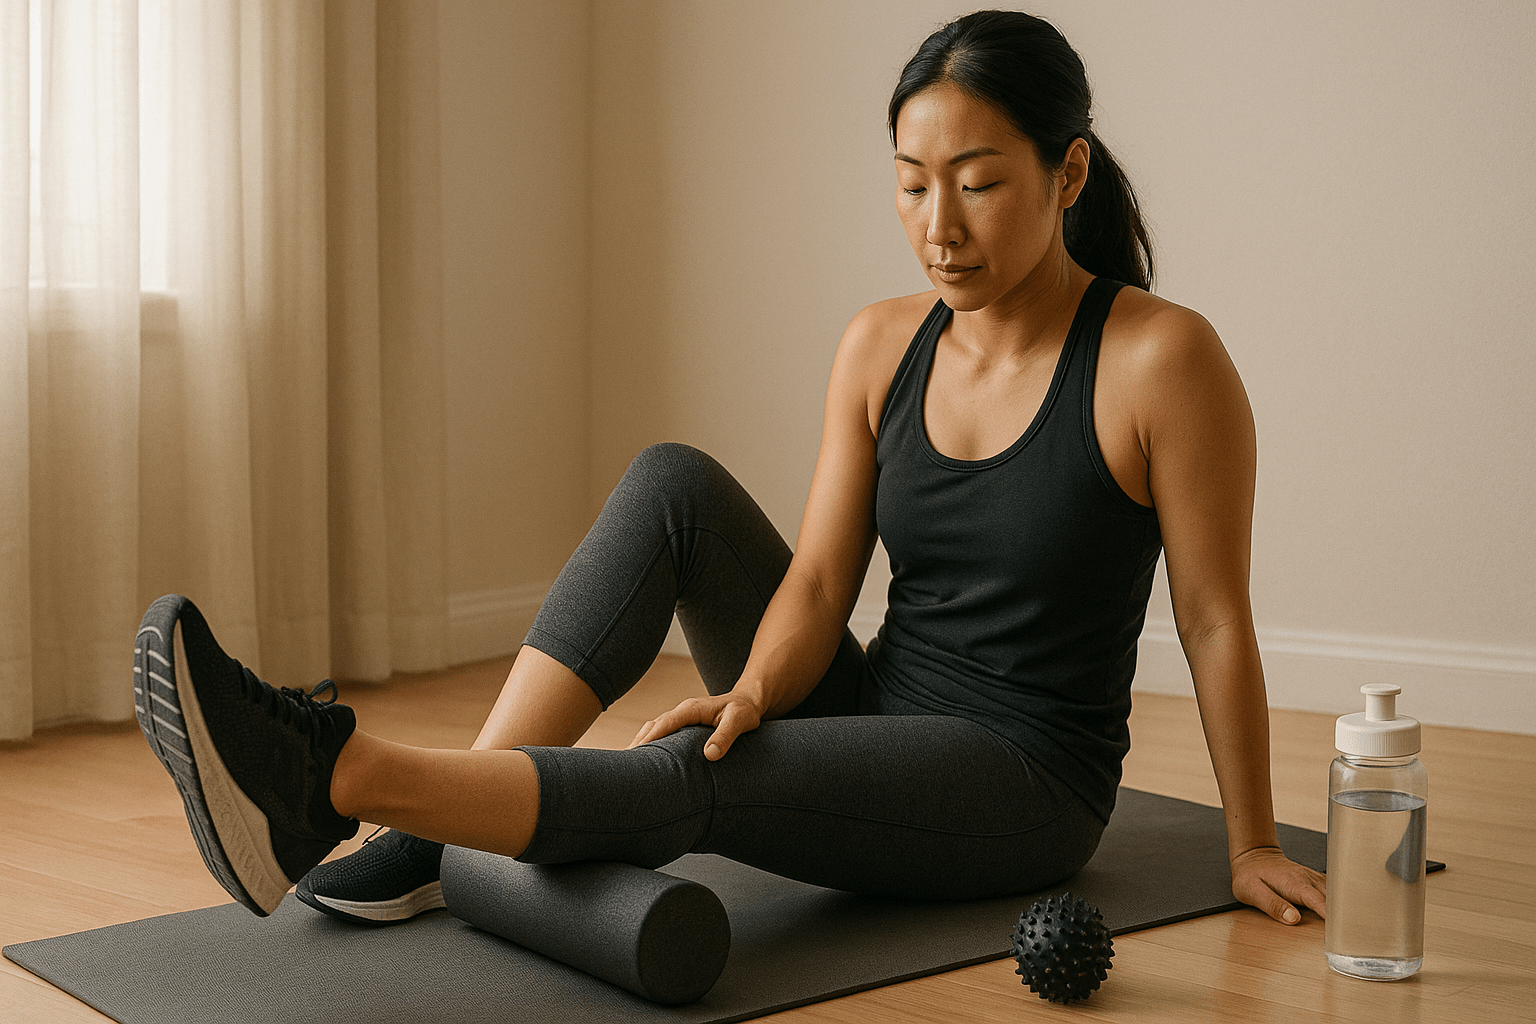
Hamstrings
- Sit with roller under thighs, hands behind you.
- Roll from glutes to just above the back of the knees.
Calves
- Sit with legs extended, roller under lower legs.
- Roll from ankles to below the knee.
- Cross one leg over the other for more pressure.
Glutes & Piriformis
- Sit on the roller, cross one ankle over opposite knee.
- Lean into the bent leg side and roll slowly.
IT Band (With Caution)
- Lie on your side, roller under outer thigh.
- Roll gently from hip to just above the knee.
- Don’t press directly on pain points; go slow and breathe.
Full-Body Add-ons
Hip Flexors
- Lie face down, roller under one hip crease.
- Slowly roll side to side.
Lower Back
- Use caution. Focus more on mid-back to avoid lumbar strain.
- If in doubt, skip and do targeted stretches instead.
Feet and Arches
- Use a lacrosse ball or mini roller under your foot.
- Roll gently while seated or standing.
How Long, How Often?
- Spend 30-60 seconds per muscle group, up to 2 minutes on sore spots.
- Aim to roll 3-5 times per week, especially on training or long-run days.
Common Mistakes Beginners Make (and How to Avoid Them)
- Rolling Too Fast: Slow and steady wins. Speed defeats the purpose.
- Holding Your Breath: Exhale as you roll into tight areas.
- Going Straight to Pain Points: Work around them first, then gradually apply pressure.
- Using the Wrong Type of Roller: A super-firm roller can cause more harm than good, especially if you’re new.
Finding the Right Foam Roller for You
Soft: Good for beginners or very sore muscles.
Medium-Firm: A solid all-purpose option.
Grid or Textured: Mimics hands of a massage therapist. Great for deeper work once you’re used to rolling.
Vibrating Rollers: More expensive, but excellent for recovery.
Pro Tip: Start soft, then progress as your tolerance builds.
How to Build a Foam Rolling Habit You’ll Actually Stick To
- Pair It With Existing Habits: Roll while watching TV, cooling down post-run, or after brushing your teeth at night.
- Create a Routine: A 10-minute full lower body routine goes a long way.
- Use a Visual Cue: Keep your roller in sight. If it’s out of sight, it’s out of mind.
- Track Your Sessions: Use a habit tracker or fitness app.
- Listen to Your Body: Rolling should feel uncomfortable but not unbearable. Adjust pressure as needed.
Your Muscles Will Thank You
Foam rolling isn’t flashy. It won’t break your Strava PR or light up your social feed. But it might be the most important five minutes you can give your running body.
It’s about recovery. Longevity. Treating your muscles with the respect they deserve after every mile they carry you through.
So grab your roller, take a breath, and lean in. Your next run just might feel lighter, smoother, and stronger.
You’ve got this. Roll on.


Leave a Reply